Please Note: Creating a Dataset is restricted to organisation Admin users.
How to create a Dataset
- Click on 'Admin'.
- Click on 'Dataset'.
- Click the 'Create a dataset' button.
- Give your Dataset a name.
- Select who can use this data set - If you want all users in your organisation to be able to use it, add your organisation as a member on the template (make sure you add it with at least view permissions). Additionally, you can give people 'admin rights' here to allow them to edit and manage this dataset with you.
- Select where the data will come from by clicking on the 'Invite & manage sources' button. This will give you the option to configure where the data will come from by adding/inviting users, organisations, and/or groups to be data sources. You can request access to sources (e.g. organisations) you are not the Admin user for, this will send a request for access to the relevant Admin user(s). You will not be able to gain access to their data until they have accepted your request.
- Once you have added your sources, then click on 'Create dataset' and you will be taken to your Dataset page.
- Click on the 'Edit' button.
- Next you will need to configure the record types you wish to report on within your dataset. You can pick from Projects, People, Groups, Organisations, and Programmes. To add a record type, select it from the drop-down list and click the 'Add record type +' button. You can repeat this process until you have added all the record types you require.
For example, most group dashboards use the 4 options of Project, Person, Organisation and Group as the most commonly used record types: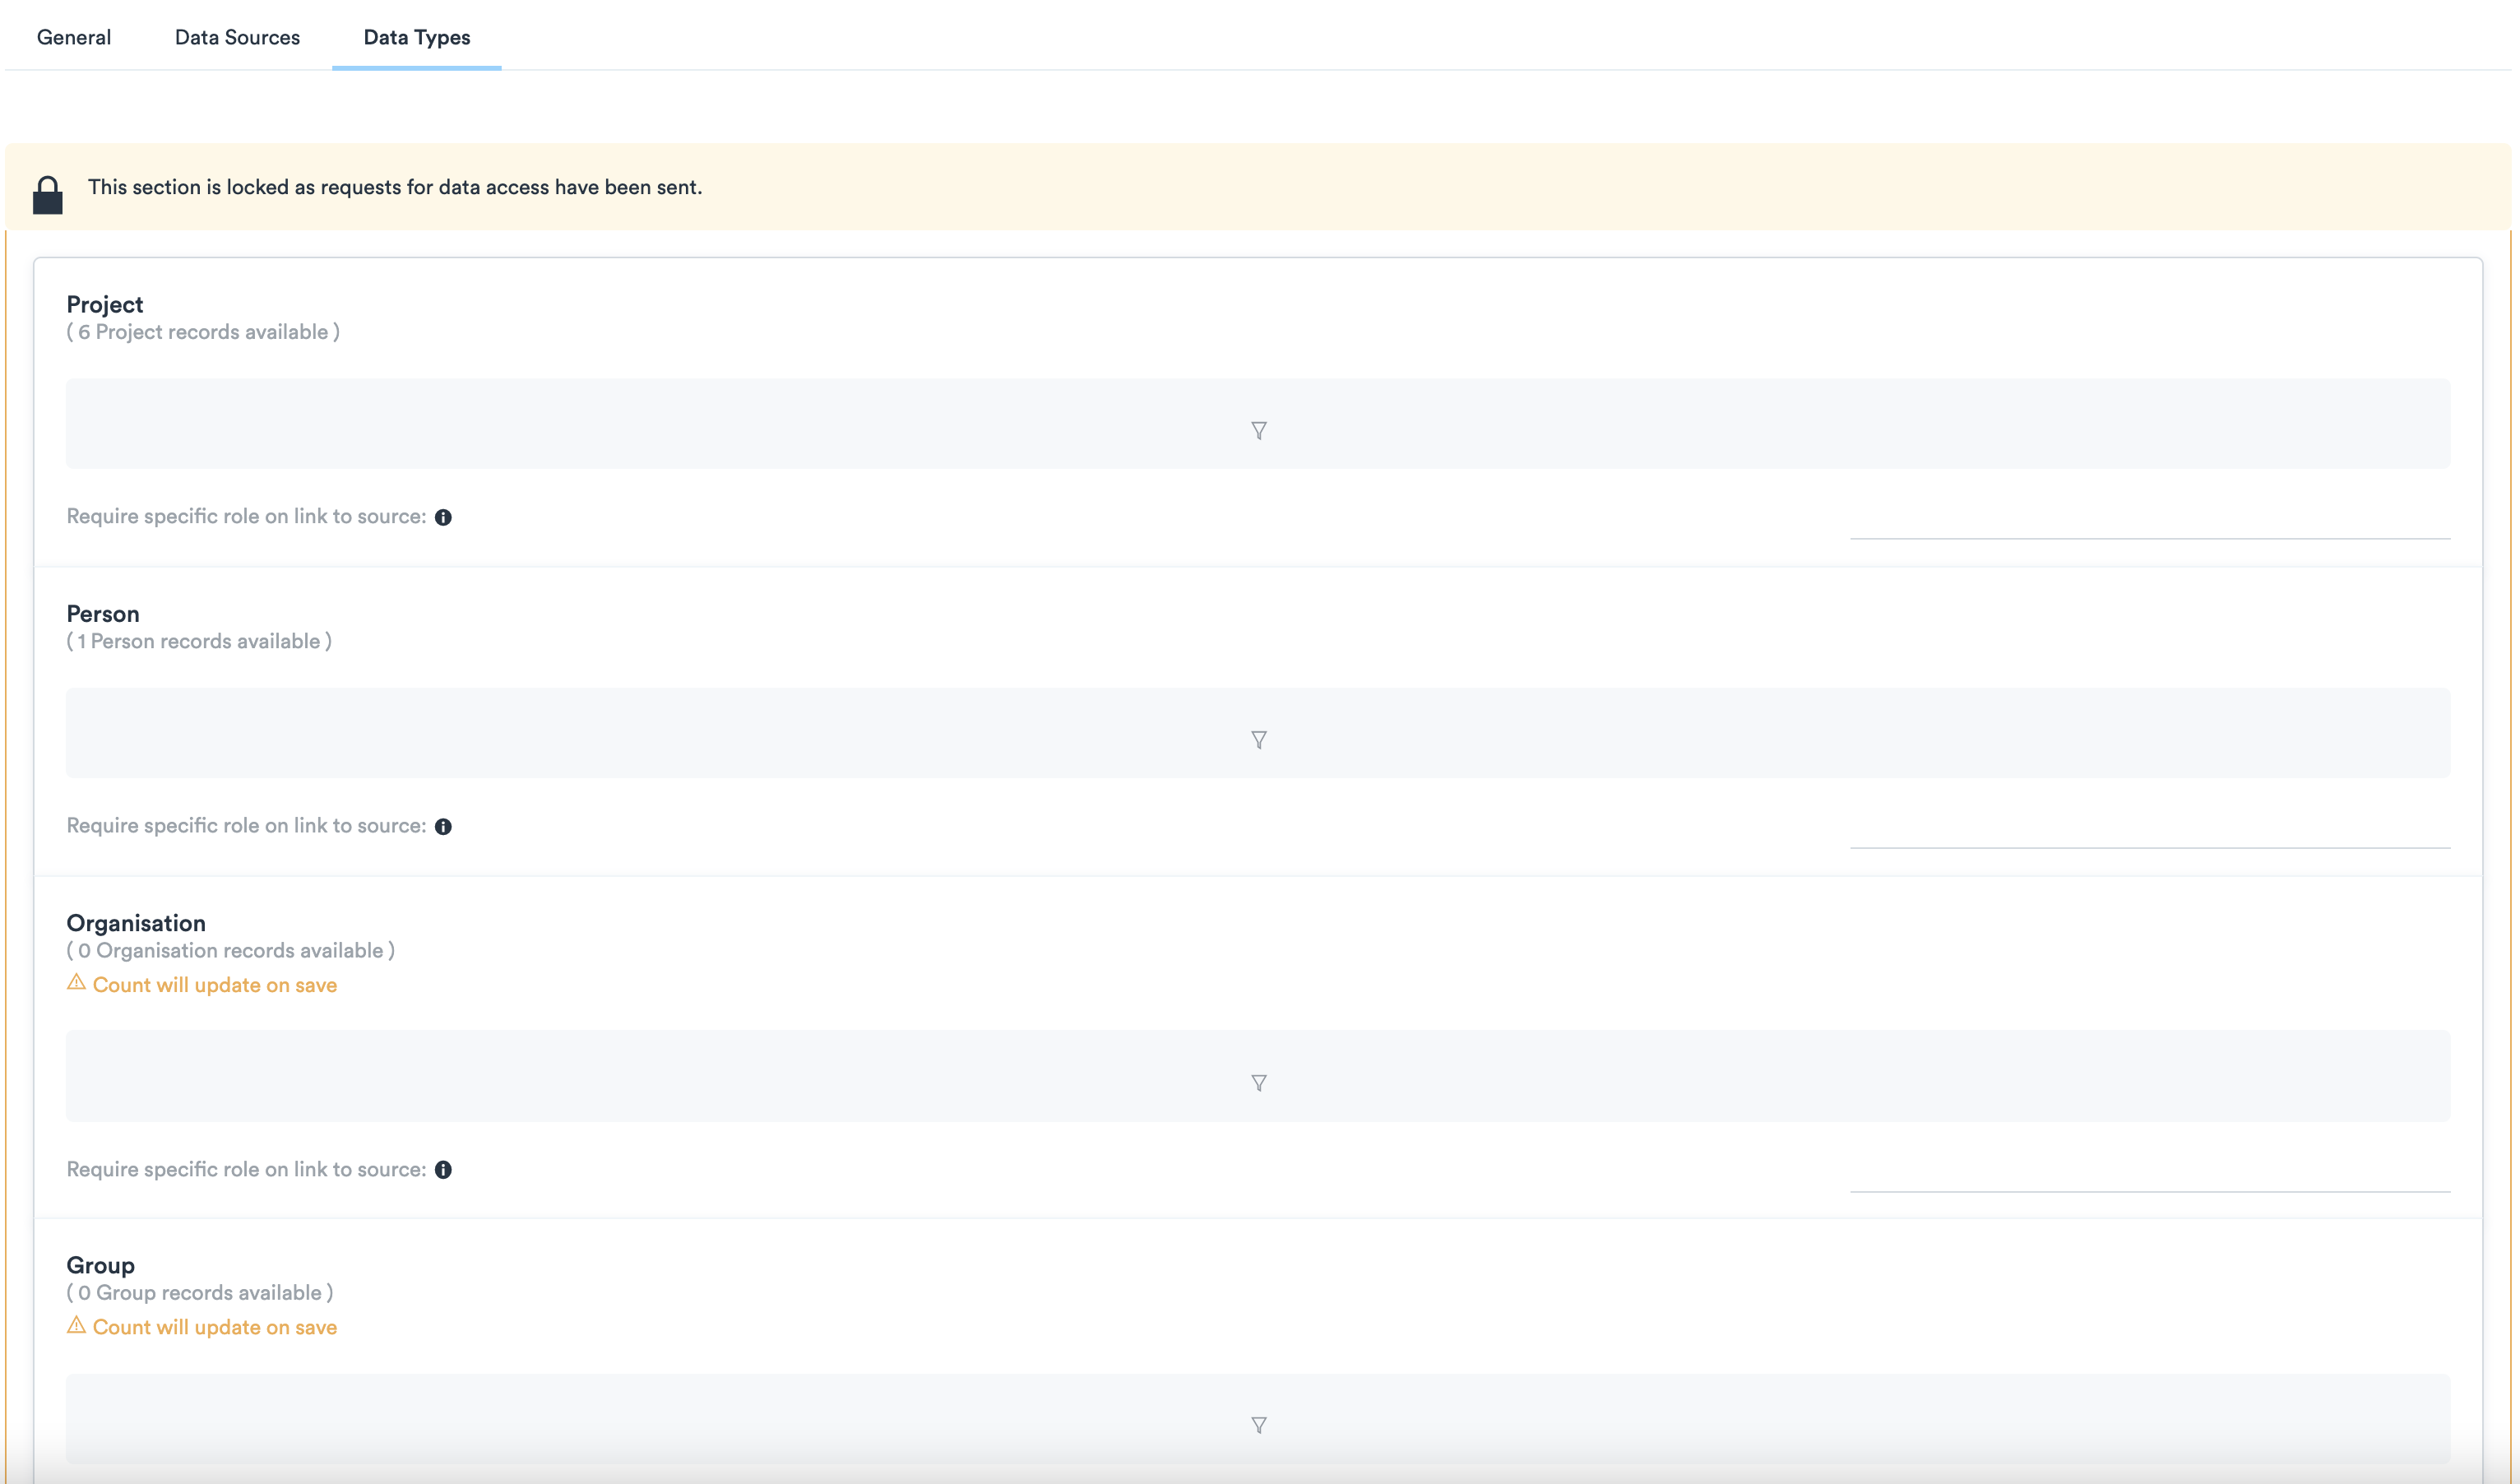
- Should you wish to filter the record types to meet any specific criteria you have. For example, if you only want to report on active projects, under the Project record type you would set the filter to only include the status of 'Active'. There are an extensive list of filters for each record type.
- Once you are happy with the filters chosen, click 'Save' at the top of the page. Your dataset will be complete and ready to use once the dataset has been given confirmation from an Admin user, such as yourself or another Admin user if you have requested access to someone else's data. You begin the dataset approval process by typing in and sending a message to the data source Admin, which if is yourself, then you will receive a message to approve straight after you send off the dataset approval message.
- The dataset will begin populating your dashboard with analytics once you see the below message of "Dataset Complete - Ready to use, underneath the dataset title.